Winter Motorhome Maintenance: A Step-by-Step Guide
As winter approaches, it’s essential to take steps to carry out some winter motorhome maintenance to protect your motorhome from the elements, preventing frost damage and ensuring it’s ready for the open road come spring. Follow our winter motorhome maintenance checklist for tips on winterising a motorhome and safely preparing it for storage.
Step 1: Find the Right Drainage Spot
Start by making sure you’re over a suitable drainage point. Chances are, this will mean parking on level ground, but if you can angle your vehicle towards its drainage outlets, this will be even better.
Step 2: Drain Fresh and Waste Water Systems
Open the outlets for all your tanks, including fresh and waste water tanks, and your water heater. If your motorhome has a toilet system with a separate header tank, empty that too. Don’t forget to drain the cassette holding tank and any flushing systems also. Draining a motorhome for winter is crucial to avoid freezing the supply system.
Step 3: Open All Taps and Run the Pump
Open all internal taps and leave them like this until you next use your vehicle. Leave any mixer taps in a central, open position. Let the pump run just long enough to clear out any excess water.
Step 4: Drain the Shower System
If your motorhome has a shower, remove the shower head, shake out any water, and let the shower piping hang vertically so that remaining water can drain naturally. Some motorhome owners place the end of the pipe and the shower head into a bowl in the shower tray.
Step 5: Double Check for Taps and Valves
Make sure you haven’t missed a tap or isolator valve. Consult your owner’s manual to see where these fittings are located.
Step 6: Empty and Prepare the Fridge
Remove all food, ice trays, and any items from the fridge and freezer. Wipe away any moisture and leave the fridge and freezer doors open slightly to promote air circulation, which will prevent the build-up of mould.
Step 7: Don’t Forget External Showers
If your motorhome has an external shower, drain it as well. These often get overlooked but can still hold enough water to freeze and cause damage.
Step 8: Take a Drive
Take a short drive with all drainage outlets open. The movement will help shake out any remaining liquids from the system. Once you return, close any outlets as appropriate. Wherever possible, leave internal taps open during storage.
Protecting the Base Vehicle
With winter on the way, it is also a prime time to make sure your base vehicle is in top condition. Follow these key steps:
- Top-up anti-freeze levels
- Top-up oil levels
- Check tyre condition and pressures
Maintaining Motorhome Batteries During Winter
Leisure and vehicle batteries can fail in the winter, often due to a combination of old age, lack of use, or not getting enough protection from the cold. Here’s how to protect them:
- Keep them on trickle charge: try and keep the batteries on trickle charge (via hook-up, or a solar panel).
- Ideally, such batteries shouldn’t be allowed to discharge below 50% of their capacity.
- Turn over the engine regularly: if taking a drive isn’t an option, starting the engine occasionally will help keep it ready for action.
- Move the vehicle: moving the motorhome slightly, if possible, to prevent the vehicle from resting on the same area of each tyre for extensive periods of time.

By following these steps, you’ll protect your motorhome from the elements and ensure it’s road-ready when warmer weather returns. Proper motorhome maintenance and winterisation will save you time, money, and effort on repairs in the spring.
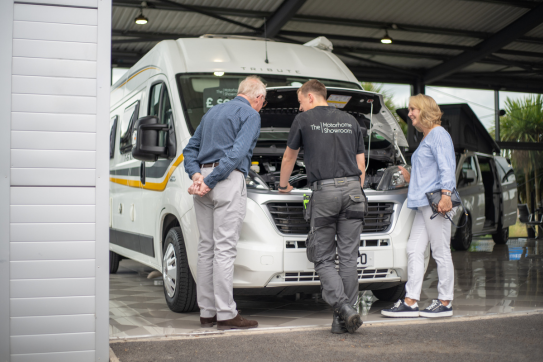
If you need any advice or require our on-site Service Centre, get in touch with us today – we’d be happy to help!